Compression's purpose
The purpose of compressing an image is to make the file size smaller, so that it downloads faster than it would at the original size. Apart from compressing an image, you can make the actual image dimensions smaller to save on download time. It's always best to do this with the image processing program (Photoshop, Fireworks, etc.), rather than resizing with html, because then you get the download savings, and usually the files look better too.
We're using bitmapped (raster) images, so let's talk about these file formats.
JPEG (.jpg)
This is the grand-daddy format, and dates to before the web. It is what's called a lossy format: as you compress the image, you lose quality. It's good for photographs, paintings, soft edges, blurs, etc. You cannot make a jpeg file transparent, but for many images, it's still the best choice.
GIF
This was created for the web, and is based on the 8-bit (256 color) palette. It can be used to create transparent images, and it can also be used to create simple animations. It's a loss-less format. Unless you're saving an animation, or you know you have users using older browsers (IE 6 in particular), you probably wouldn't use this format anymore.
PNG (pronounced "ping")
This is a newer format, and is not fully supported in all browsers yet; however, it's supported in enough situations that I'd begin to use it when it's appropriate. There are two versions, the 8-bit format, which is pretty much like the gif format, except it is a bit more efficient. Like the gif, the a transparent 8-bit png file required matting to get it to save the anti-aliasing on your edges.
The 24-bit format of the png file is superior to its 8-bit mamma, because is is truecolor (millions of colors), like the jpg. Plus you can do an alpha transparency, which lets you create a transparent image that you can use on any background color. It's also a gamma corrected format, so the files look good on any computer screen. The downside: much bigger files.
When to use what: optimization
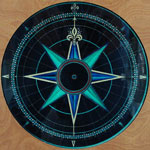
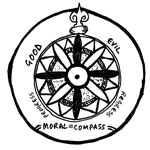
The format you use depends on the kind of file, and what you want it to do on the page. For example, the photo of a compass rose, would best be saved as a jpg file, while the drawing works best as an 8-bit png:
 |
 |
|
| jpg -- 11k | png -- 9k |
Now, imagine you wanted to use the first image as part of a button, or on solid background colors. In fact, why don't you download this high-resolution png image so you can use it as a basis for the buttons?
Now, check out this screen capture of my first version of this button, to see the differences in the files (you can click on the thumb to see the full screen capture):
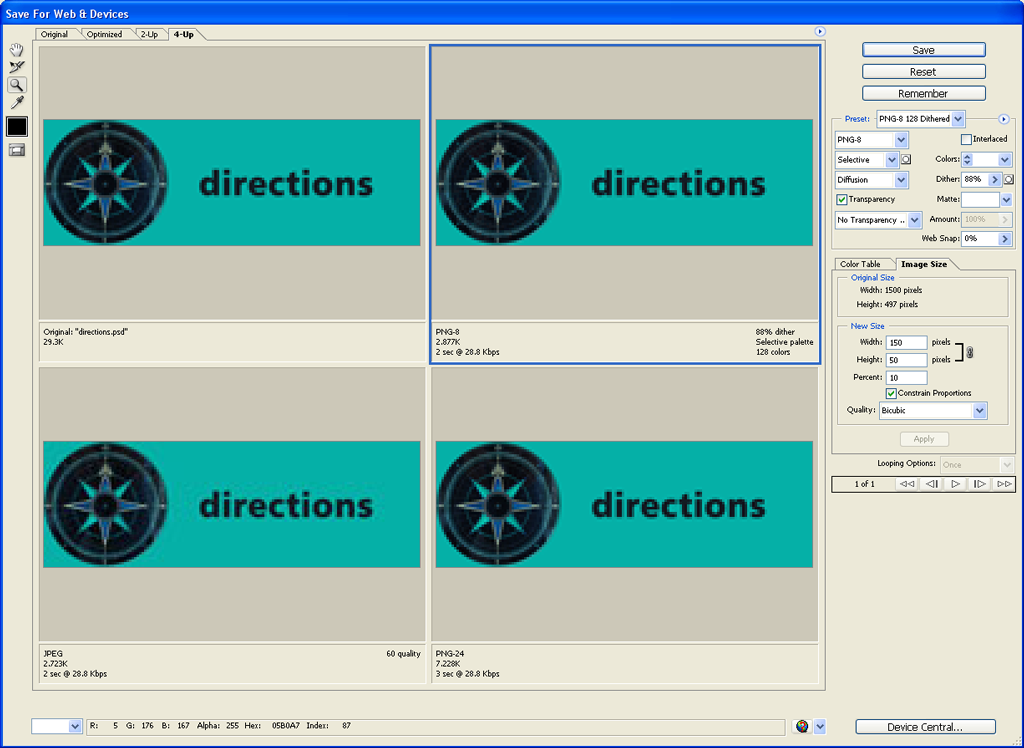
In this case, the best looking version is the 24-bit PNG, but the smallest file is the JPG. However, the 128-color version of the 8-bit PNG file is the best combination. This is why this is sometimes also called "optimization". The tool Photoshop gives you to check different versions is quite useful -- when you start I recommend using the four-up tab so you can see what they look like.
You can further refine your 8-bit PNG optimizations by reducing the number of colors. Here are three different versions (click to see larger screen cap):
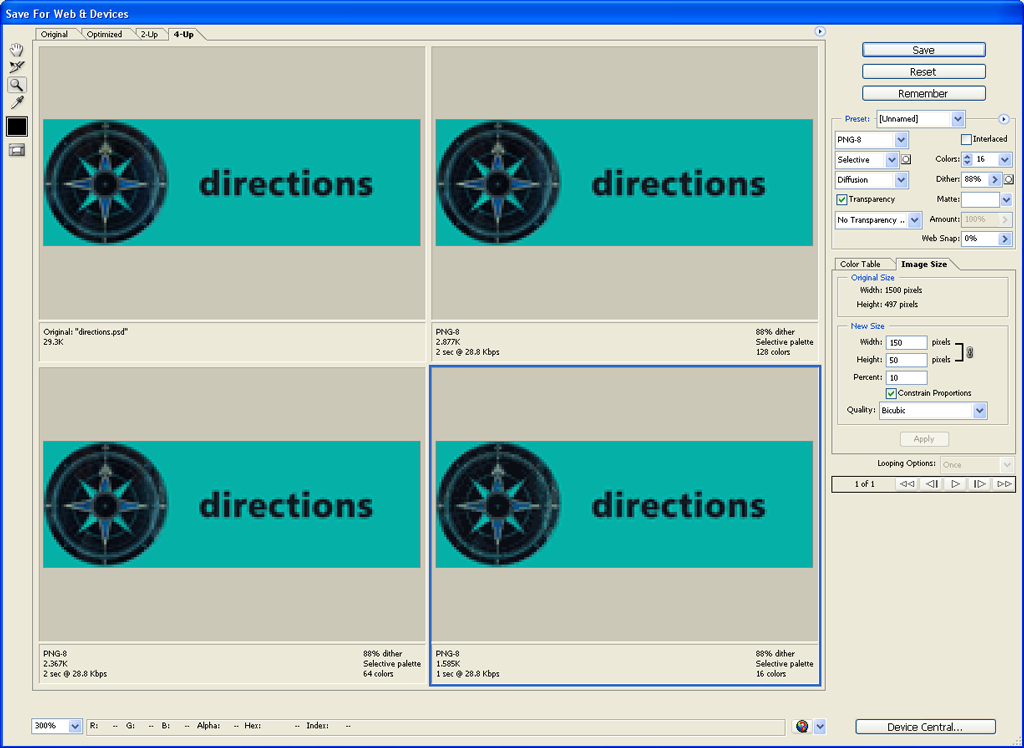
Do you see how the 16-color version looks kind of bitmapped around the edges? That's because we've dropped enough color out fo the imae that it can't do as good a job of anti-aliasing around those edges. However, if you preview it in a browser (use the circled button in the dialog, near the bottom right), you'll see it actually looks okay, and it saves you more than 1k . That might not sound like much, but multiply that times the number of buttons you have, times two if you plan to have rollovers.

Transparencies
Now, imagine you'd like to create transparent versions of this image. This is where it really gets tricky.
The transparent version of this 8-bit PNG looks like this:
![]()
but watch what happens when I put that green bg color on it as a css background:
![]()
Yikes, right? That white "halo" effect is caused by the anti-aliasing. To get this kind of tranparency to work properly, you have to put a matting around the image to get them to blend. This means you have to know what color it sits on, and it can only be used on that color, if it's not, then it won't work very well:

but it blends perfectly with the css bg:
You can find the matte button right here (red circle on the dialog) -- just click on the space NEXT to the pulldown:

Or, you could try creating a 24-bit PNG, but I would only do this if you're trying to preserve an effect that doesn't look very good in 8-bit format, such as a drop shadow:
 8-bit png (2k)
 24-bit png (10k)
The second is cleaner, and will also work on any background, while the first won't: